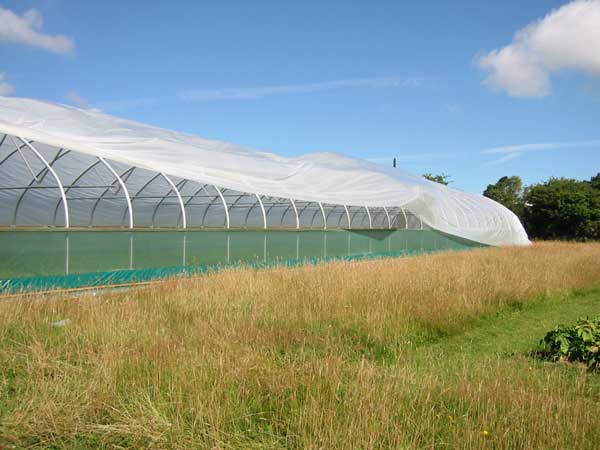
 19. Now it was all unrolled, the cover was definitely interested in becoming airborne. For half-an-hour, all was confusion as the cavalry (Jill and Mike et al.) galloped to our aid. People hurled themselves at flapping plastic and hung on. We managed to roughly secure the sheet by nailing battens to the base rail. Phew! |
 20. That had been, as they say, a 'close shave'. But all was well. And here we are beginning the long job of properly securing the poly cover to the side rail with a team of three, both pulling and rolling and nailing the battens... |
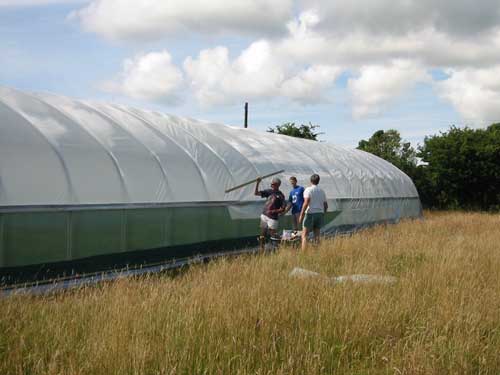
 21. ... and then undoing what we'd just done to re-roll and re-tension and get out the creases. The cover must be tight, rather like a tent. |
 22. Nearly finished. |
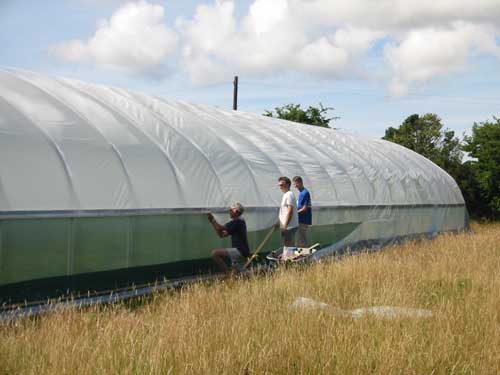
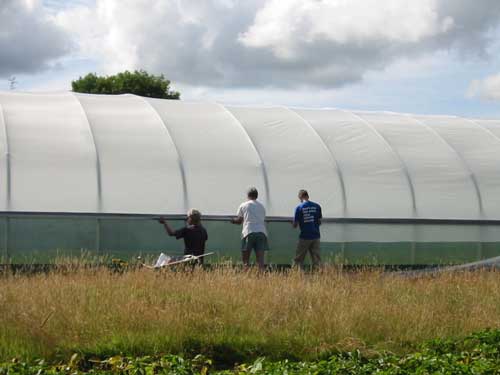
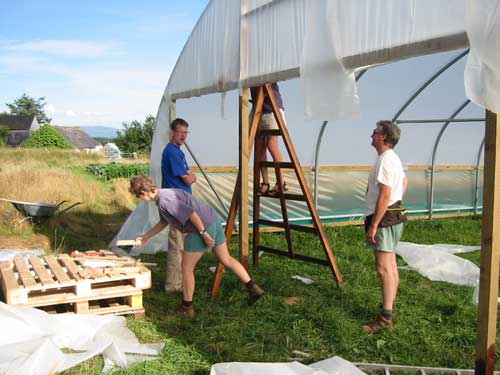 23. Then comes the really awkward part: attaching the ends to the door framework. This took days because every time you tightened one bit, another bit would become slack again. So off came the battens to be re-rolled and tensioned. That's Mike and Mark considering what to do next. |
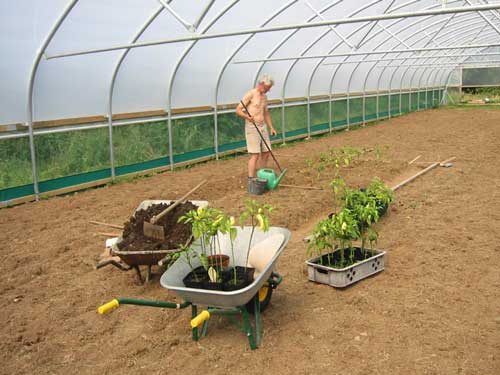 24. As a 'thanks' to Jill and Mike, priority next was to plant some of their peppers which they hadn't got room for in their 'baby' polytunnel up the road from us. |
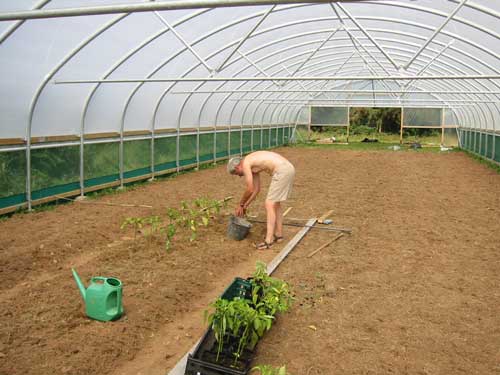 25. So here am I making the very first beds inside our new huge polytunnel. |
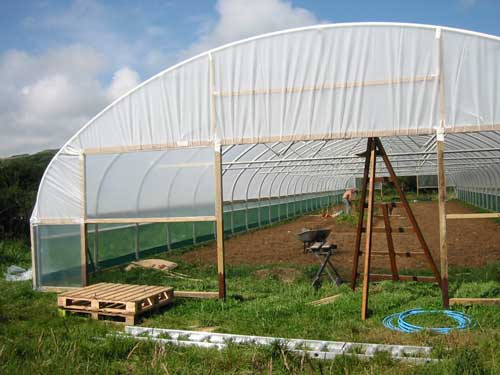 26. Here's the end partially completed. I'm working inside. |
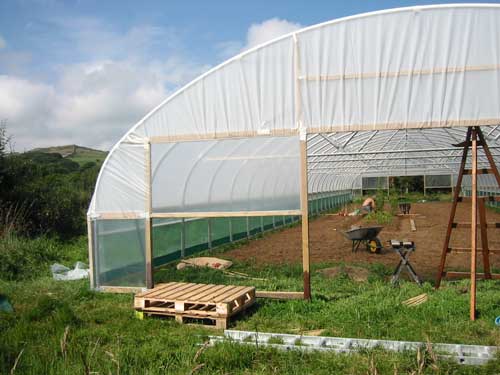 27. It's really great inside, even on a cool windy day. |
Page: 1 2 3 4